

Air Suspension FAQ
Last updated: January 2026
Get expert answers to your most common air ride questions. From air suspension reliability and maintenance to installation costs and choosing the right control system, this FAQ provides everything you need to build and maintain your air suspension setup.

Air Suspension Basics
Air suspension replaces traditional coil springs with adjustable rubber air bags known as air springs, that use compressed air to control ride height. By increasing or decreasing air pressure, the vehicle can be raised or lowered instantly, allowing for improved comfort, clearance, and versatility compared to fixed-height suspension systems.
→ Browse Complete Air Suspension Kits
Modern air suspension systems are very reliable when installed correctly and maintained properly. Reliability depends more on installation quality than the system itself. A well-installed air ride setup will last just as long as traditional aftermarket suspension options. In fact, many luxury and commercial vehicles use air suspension from the factory due to its benefits over traditional coil spring suspensions. If you won't be installing your air suspension yourself, be sure to bring your vehicle and air suspension components to a qualified and air ride experienced shop.
Air suspension works by using an air compressor, air tank, and control system to inflate or deflate air springs. When air pressure increases, the vehicle rises; when pressure decreases, it lowers. A controller manages airflow through a manifold, or valves, allowing the driver to adjust ride height at the push of a button.
A complete air suspension kit consists of two main portions. The management system and the suspension itself. The management system builds and regulates air pressure, controlling the airflow to the air bags. Key components of this system include the compressor, air tank, manifold (valves), and the controller. Air lines connect these components to the air bags (air springs), allowing the vehicle to move up or down with a simple button press on the controller.

The main benefit of air suspension is adjustable ride height. Drivers can raise the vehicle for obstacles or lower it for performance and appearance. Air suspension also allows fine-tuning of ride quality and handling, offering flexibility that static suspension setups, like coilovers, cannot provide.
In regards to aftermarket / performance / show modifications, air suspension's biggest benefit over traditional static type suspensions like coilovers is the fact that your vehicle's height can be adjusted at any point in time. Love lowered cars but have expensive bodywork done to your car? Air suspension allows you to raise your vehicle to get over speed bumps, and into steep driveways without damaging anything. Air suspension is also completely adjustable, especially if your setup has fully threaded air struts. This means that you can change the overall length of your suspension, as well as your ride pressures to dial in the perfect spring rates and handling characteristics. This is something you are unable to do with static suspensions without buying new springs or dampers. Outside of the aftermarket, air suspension has many useful applications, from kneeling buses and ambulances, to construction vehicles and 18-wheelers. Automatic leveling and load support keep some of industry's most important vehicles on the road for hundreds of thousands of miles.
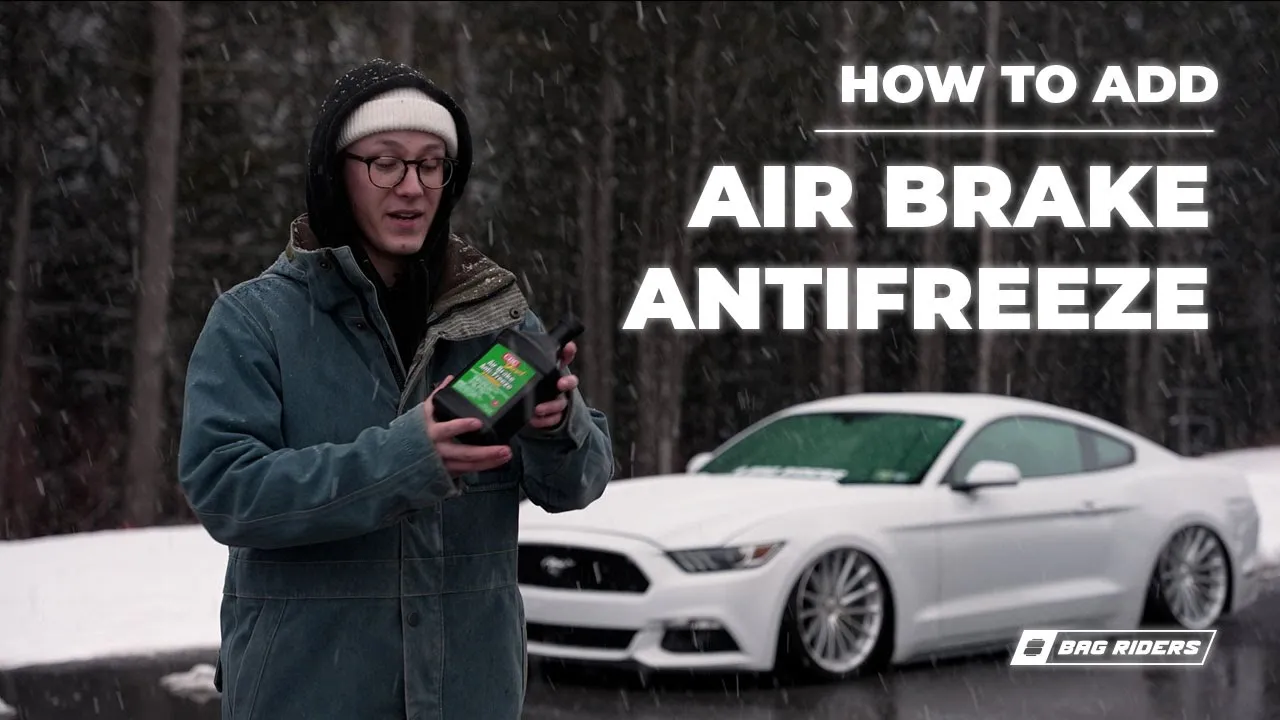
Yes, air suspension can be used in the winter. In fact, Bag Riders is located in northern Vermont which tends to get very cold and snowy during the winter months. That doesn't stop any of us from driving our air ride equipped vehicles year round, or prevent us from traveling to resorts in the area to enjoy snow sports. We do recommend a few steps of preventative maintenance during the winter months to ensure the cold doesn't adversely affect any air ride components. First off, we always add about two caps of air brake antifreeze to our air tanks as soon as the temperature starts to drop around freezing at night. This helps prevent condensation from freezing inside air lines, valves, fittings and otherwise clogging up the system. Furthermore, we tend to empty our tanks and water traps more frequently during the colder months - typically once a month.
Buying air suspension from a specialized retailer like Bag Riders gives you vehicle-specific fitment guidance, expert support, and access to installation resources tailored to your kit - plus help from actual air suspension enthusiasts if you run into issues. While manufacturers produce the parts, resellers ensure compatibility, simplify the buying process, and offer better pre- and post-purchase assistance. Bag Riders builds complete air ride kits in house on a per customer basis. You choose your parts and pieces, we put it all together and make sure you have everything you need. Bag Riders has complete kits for over 3000 vehicles with a wide selection of parts from the industry's top brands.
Air Suspension Components
Air springs, also called air bags, are rubber components that replace traditional coil springs. They hold compressed air to support the vehicle's weight and determine ride height and spring rate. Air springs can be mounted on struts or paired separately with shocks.
An air suspension control system manages airflow between the air tank and air springs using valves and a controller. When activated by a button press on the controller, the system opens or closes valves to add or release air, raising or lowering the vehicle instantly based on driver input or preset settings.
The control system is the brain of your air management setup. Control systems have two main parts which include the controller itself, and the manifold / valves. The controller is what you interact with to adjust your vehicle's height. You press a button on the controller, the controller sends a signal to the valves to open which then allows air to flow through your system, either raising or lowering your vehicle at the touch of a button. Some control systems allow for user-defined presets so you can get to a specific height automatically with the touch of a single button, while other control systems are completely analog and require you to adjust your air spring pressures manually.
There is no single “best” air management system for everyone. The ideal choice depends on budget, desired features, and ease of use. Manual systems prioritize simplicity and low cost, while digital and height-based systems offer presets, automation, and enhanced consistency.
The best kind of management is ultimately up to the individual who will be using it. For some, the manual management may be the ideal solution for a low-budget build, whereas another person may find the user-friendliness and reliability of the Bag Riders PRO more appealing. Others might want to go the expensive route with the most advanced height based auto-leveling system on the market like AccuAir's e-Level. The best air management system depends on your budget, desired features, and how you plan to use your vehicle.
The main difference between digital and manual air suspension controllers is automation. Digital controllers allow preset heights, system monitoring, and app connectivity, while manual controllers rely on physical switches and gauges. Digital systems are easier to use but typically cost more.
A digital air suspension controller includes an ECU that unlocks extra features like user-defined preset pressures/heights, system monitoring, the ability to adjust air tank pressure cutoffs, and in some cases they even give you the ability to connect your phone to your air ride setup through an app. Manual air suspension controllers on the other hand don't include any bells and whistles. They do not allow you to set preset heights, they don't have apps, etc. Because digital controllers are feature rich and easier to use, they end up coming in at a higher price point than the classic manual controllers.
The main difference between pressure-based and height-based air suspension presets is accuracy. Pressure-based systems return to a stored PSI, which can change ride height with added weight. Height-based systems use sensors to maintain a consistent physical ride height regardless of load.
Pressure-based presets
Pressure-based air suspension systems store presets using air pressure (PSI) rather than vehicle height. When a preset is selected, the system inflates or deflates the air springs to reach the stored pressure value. It's important to understand that air pressure does not directly equal ride height.
For example, a vehicle could sit at the same physical height with 50 PSI in all four air springs, or 100 PSI in all four air springs. The actual height depends on the vehicle weight, passengers, or cargo weight distribution.
Because of this, pressure-based presets are not true height presets. They simply return the system to a stored pressure value. Users must visually confirm that the vehicle reaches the desired ride height, especially when vehicle load changes.
Height-based (sensor-based) presets
Height-based air suspension systems use physical height sensors mounted to the suspension on all four corners to measure the vehicle's actual ride height in real time. Systems like the AccuAir e-Level store presets based on measured vehicle height, not air pressure. This means that added passengers or cargo do not change preset ride height, air pressure automatically adjusts to maintain the same height, and ride height remains consistent in real-world conditions.
With a height-based system, pressure values become irrelevant — the system focuses only on achieving and maintaining the correct suspension position.
Neither system is universally “better” than the other - they work in fundamentally different ways and are suited to different use cases. Height-based setups are more expensive and more complicated to install but fill more of a "set it and forget it" role. Pressure-based systems meet the perfect balance between cost, ease of install, and feature sets.

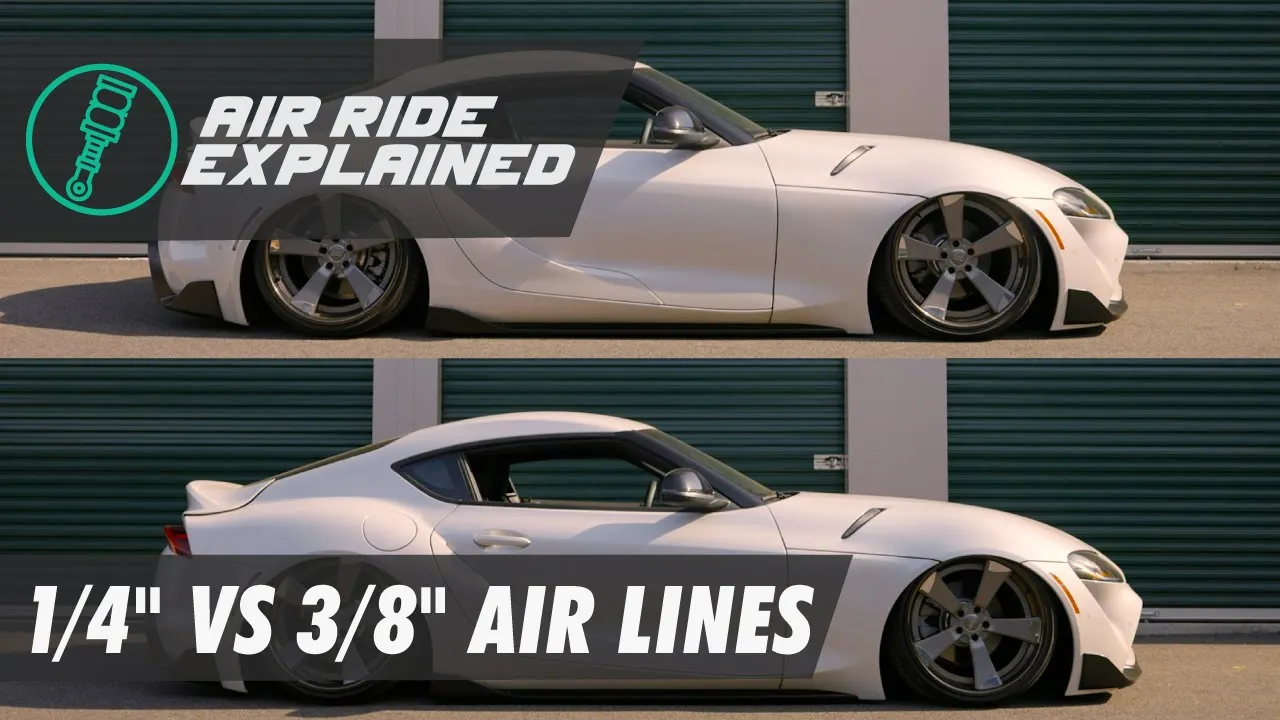
The difference between 1/4" and 3/8" air line is airflow speed. 3/8" air line allows faster lifting and lowering, while 1/4" air line offers smoother operation and easier routing. Both sizes are reliable, and flow speed can be adjusted with valves if needed.
Air lines come in a variety of sizes, each with a different inner diameter which affects the amount of air that can flow to/from a bag when lifting and dropping your vehicle. Simply put, 3/8” air line allows air to flow faster than 1/4” air line. 1/4” air line is slightly easier to route than 3/8” air line just because it is smaller in diameter and thus bends a bit easier. Keep in mind that if you have 3/8” air line and decide that is too fast you can always control the flow of air via inline flow controls and dump controls. In terms of which size is more popular, 1/4" outsells 3/8" by a wide margin.
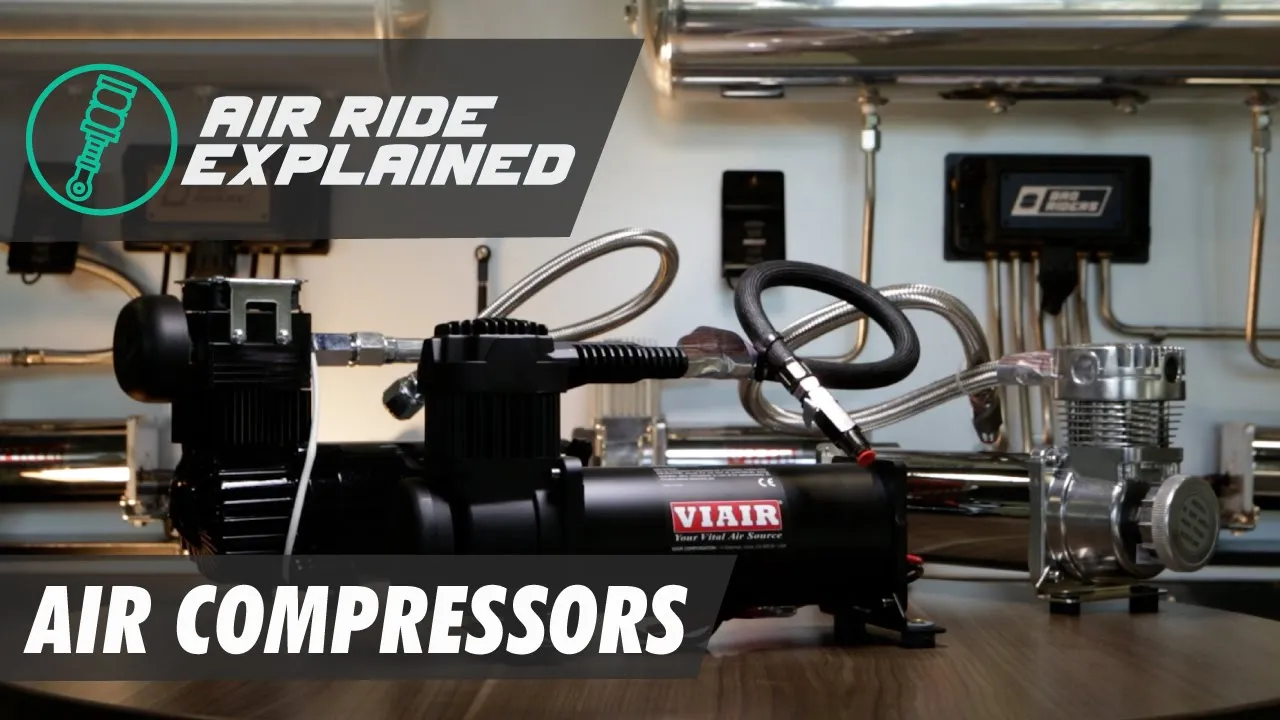
An air compressor fills the air tank with compressed air, supplying pressure to raise the vehicle. Without a compressor, the system cannot build or maintain air pressure. The tank stores air so height adjustments can be made quickly without waiting for the compressor to run. Air suspension systems feature a pressure sensor that monitors the air tank pressure and will automatically activate the compressor once the tank pressure drops below a certain level.
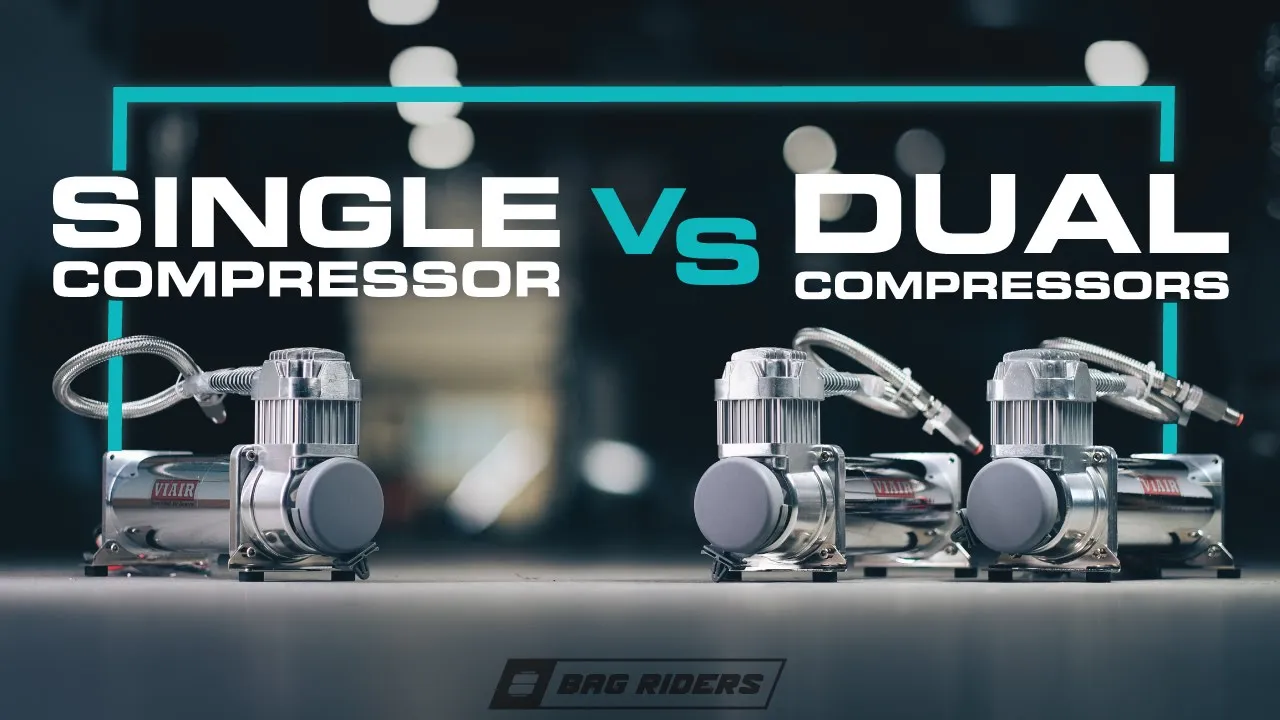
Dual air compressors fill the air tank faster and provide redundancy if one compressor fails. A single compressor is sufficient for most setups and costs less, while dual compressors are ideal for frequent adjustments, larger tanks, or users who want faster system response.
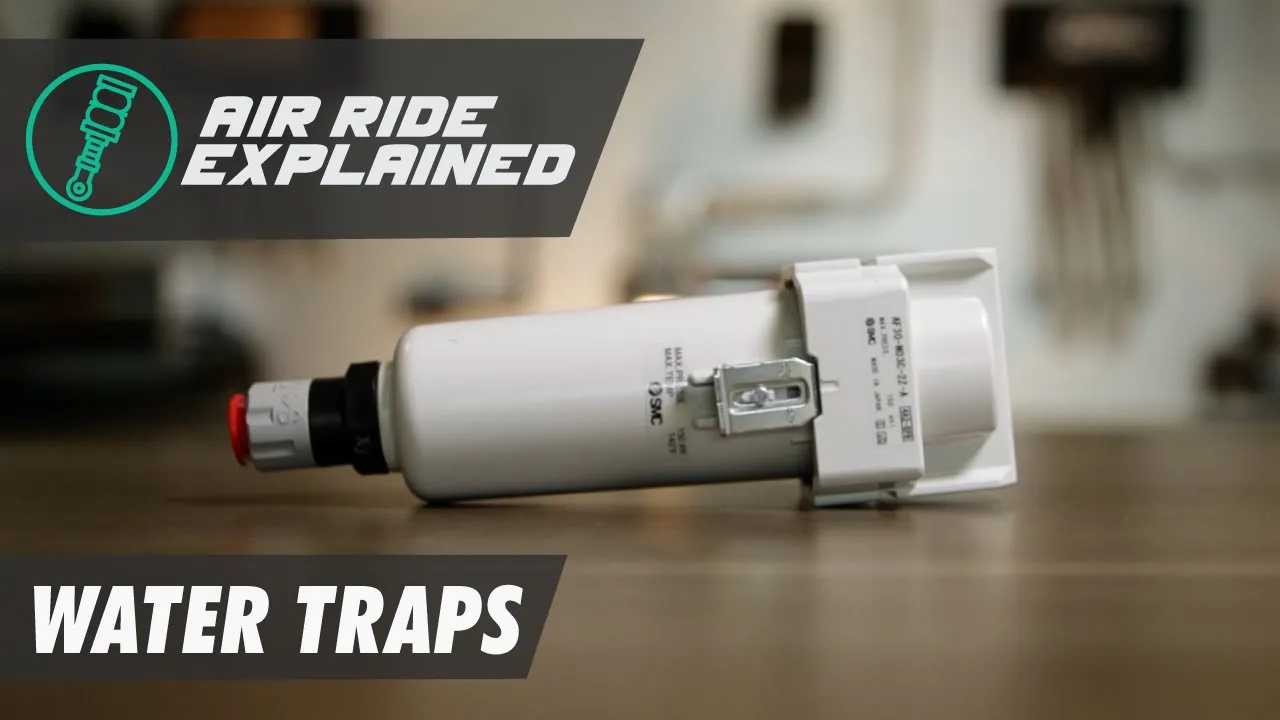
A water trap removes moisture and debris from compressed air before it reaches sensitive air suspension components. While not required, water traps help prevent corrosion and valve damage, extending the lifespan of the system especially in humid climates or daily-driven vehicles.
Hard lines are rigid tubing used primarily for show setups and custom trunk layouts. They offer a clean appearance but require precise bending and installation. Standard nylon air lines are more flexible, easier to route, and are better suited for full vehicle plumbing.
Installation & Compatibility
Yes, many people successfully install air suspension themselves. If you're comfortable with suspension work and basic wiring, a DIY install can be easy. Complete kits typically include diagrams and instructions, and the vehicle remains drivable as long as the air management system is installed first, before the suspension.
When you purchase a complete air ride kit or air management package from Bag Riders, we include a detailed "map" of how everything connects together. If you can do a typical suspension install and understand wiring basics, you'll be perfectly fine to do the install yourself. We always recommend starting with your air management before doing the air suspension. If you start with installing your management setup in your trunk (air tank, compressor, running your air lines, etc.), you can still drive your vehicle. Once your management is all set up and it power cycles, you're then ready to move on to your suspension which should be just uninstalling your existing suspension, installing your air suspension, and connecting your air lines to the air springs. Power on your air management, use your controller to pressurize your air springs, set some presets, and you're good to go!

Installing air suspension typically takes 8-12 hours for a pressure-based system. Height-based systems that require you to install physical height sensors on each corner of the vehicle will take longer due to their added complexity. We usually recommend designating a whole weekend for the install just to be safe. Starting with installing the management and running the air lines to each corner of the vehicle is always a good rule of thumb to follow. Do the actual suspension last so you can still use your vehicle in case you run out of time.
Bag Riders does not perform vehicle installations, but we provide expert installation support and guidance. Our team is happy to answer questions and help troubleshoot during your install to ensure everything is done correctly.
Nearly any vehicle can be converted to air suspension, though some require custom or universal components. Bag Riders offers bolt-in air ride kits for over 3,000 vehicles, while unique builds may require universal bags, struts, or custom fabrication.
If you're unable to find a complete kit for your vehicle on our site, chances are you've got a pretty cool project on your hands and you're going to have to get creative by using universal parts and custom mounts. The control system / air management portion of a complete setup is not vehicle specific. So if you can figure out the actual suspension portion, it's smooth sailing from there. Looking for a bolt-in kit? Throw your vehicle into the selector on our site to see everything that's specifically designed for your ride.
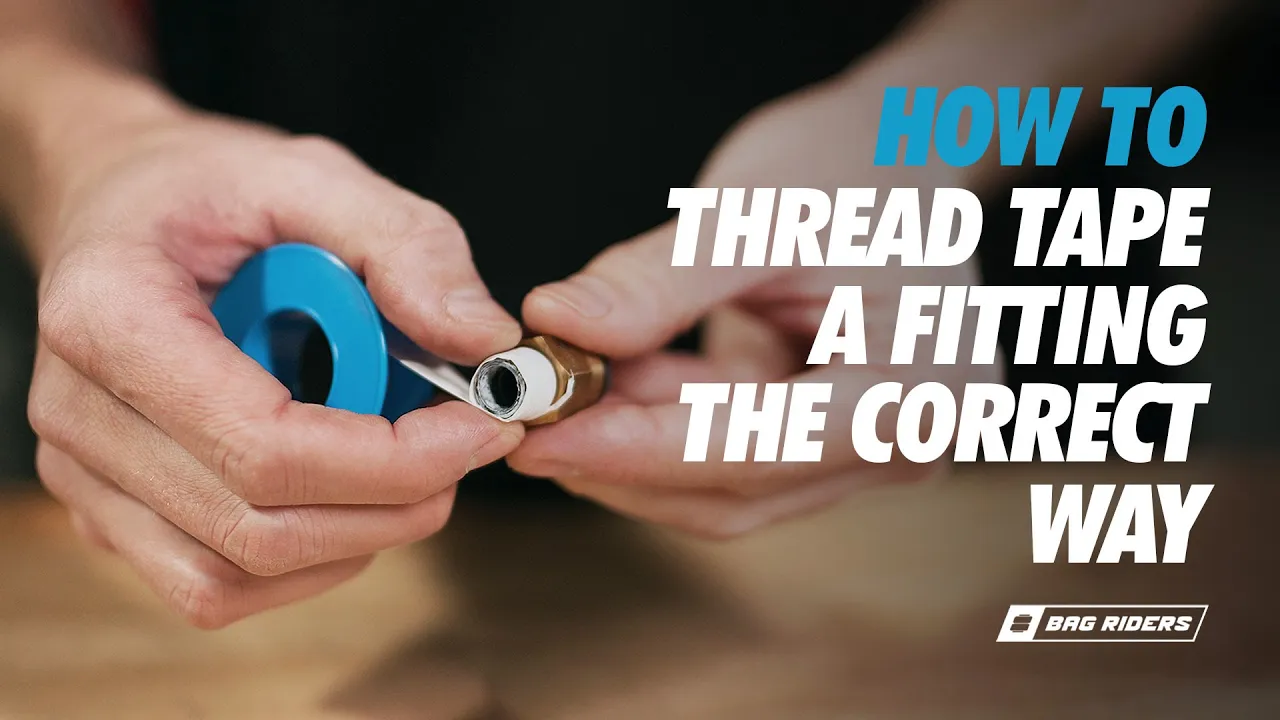
To apply thread tape correctly, hold the fitting in one hand and the thread tape in the other. Hold the thread tape end against the threaded portion of the fitting and spin the fitting clockwise, like you were threading it into a port (righty tighty). Keep spinning the fitting until you've got a couple wraps of the thread tape. Typically 3 wraps on a fitting with "clean" threads will do the trick. If your fitting already has some sealant on it from the factory, 1 to 2 wraps with thread tape will be enough. There is no need to do more than 3 wraps of thread tape.
Although a relatively simple process, there is a right and a wrong way to apply thread tape to a fitting. If you end up doing it the "wrong way" you will notice that your thread tape will start to unravel as you tighten your fitting down. If you notice this happening, stop, and start over.
Performance & Handling
Air suspension can benefit your ride quality greatly by taking the harshness out of bumps while giving you the responsiveness and handling of a performance suspension like coilovers. Air suspension allows you to dial in your preferred spring rate by either increasing or decreasing your air bag pressures. A higher pressure in your air spring, the higher spring rate you'll have (stiffer). The lower your bag pressure, the softer your ride will be. A fully threaded damper allows you to either extend or shorten your air strut to help dial in the perfect drive height at the ideal spring rate. Some air suspension lines can require some adjustment while others, like the Bag Riders Super Low air suspension, is perfectly set out of the box and designed to give you the best handling and ride quality at the lowest of drive heights.

Most air suspension systems allow you to raise or lower your vehicle while driving, helping you clear obstacles or steep driveways. Local laws may restrict this feature, so drivers should check regulations in their area.
Air ride control systems allow you to adjust your ride height on the fly when you're moving. This is an important feature especially for those who drive as low as possible. If you're coming up to a speed bump, poorly maintained roadway, or are merging out of traffic into a steep driveway, you can raise your vehicle while in motion to both protect your vehicle from damage, and to keep the flow of traffic moving, preventing a dangerous situation. Some jurisdictions however, do not allow the use of air suspension while you are driving so be sure to check your local laws and regulations before doing so.
Air suspension is excellent for daily driving and is commonly used in factory vehicles. When properly installed, it delivers reliable performance, improved ride comfort, and adjustable height for real-world driving conditions.
Daily driving on air suspension is becoming more commonplace. In fact more and more vehicles are coming from the factory with air suspension as a standard option. Air ride is known to improve handling, giving you a sportier ride while smoothing out the harshness of hitting bumps and potholes. You're also able to adjust your suspension height on the fly which is helpful to ensure you don't damage your vehicle or if you need to level out your load when towing or hauling. Think about industrial vehicles like buses, dump trucks, and semi-trucks. They all utilize air suspension and are on the road for hundreds of thousands of miles. If they trust it, you can too. Air ride is absolutely good for daily driving but like most things, your setup will only be as reliable as you make it. If you take your time and do a good install, you won't have any issues. If you cut corners and rush your install, you might run into a problem or two down the road. So take your time, enjoy the process of installing your air suspension, and feel comfortable driving it every single day.

While you can drive at full lift briefly, it's not recommended. Driving fully aired up causes shocks to top out, which can damage dampers over time. Full lift should only be used momentarily to clear obstacles.
Driving at full lift will mean that your dampers are fully extended which will cause you to "top out" when hitting bumps. If you're aired up and driving and are hearing a banging sound, that is your dampers reaching their maximum stroke. Prolonged driving like this will end up damaging your dampers to the point where they will need to be replaced. So airing up the whole way once in a while to get over a speed bump while driving isn't the end of the world, but driving for miles like this should be avoided at all costs.
Maintenance & Troubleshooting Your Air Ride Setup
Air suspension leaks are easily found using a soap-and-water spray. Spray all fittings and connections—bubbles will form where air is escaping, even with very slow leaks.
A leak in your air suspension setup can spring up, especially after a new installation. That doesn't mean that you should ignore a leak though, since they are very easy to track down. Grab a spray bottle and fill it with a bit of soap and water, then begin spraying down any connection in your system. Even the slowest leak will cause bubbles to form. If the leak is audible and coming from a PTC fitting, be sure the air line is pressed firmly into the fitting. We have found that DOT approved fittings like those made by SMC are very reliable for PTC connections due to the inner “sleeve” that hugs the inside of the connected air line.
Most air suspension leaks are caused by poorly cut air lines or improperly sealed fitting threads. Re-cut the air line squarely for push-to-connect fittings, or reapply thread tape if the leak is coming from threaded ports.
If you have a leaking fitting in your air ride system, there are two main areas to check. If the leak is coming from where the air line enters a fitting, you should remove the air line from the PTC end of the fitting, re-cut the air line at a 90 degree angle using a line cutter, and reinstall the air line into the fitting. This should fix it! If the leak is coming from the threaded portion of a fitting, simply remove the fitting from the port, re-apply thread tape or thread sealant, and reinstall. It should be noted that you must depressurize your system before attempting any system maintenance.

Air suspension requires minimal maintenance. Draining the air tank every few months and emptying water traps monthly helps prevent moisture buildup and protects system components.
Yes. Air tanks should be drained periodically to remove moisture and debris. Water collects at the bottom of the tank, so drains or fittings should always be positioned at the lowest point.
The first thing to remember when draining your tank is to always exhaust all the air from your system before beginning to remove any fittings. That said, the most straightforward method to drain your air tank is to remove it from your vehicle and unscrew a fitting from the tank to drain any water out that has collected inside. We've seen creative setups that utilize an elbow fitting on the bottom of the tank connected to an electric valve which is actuated by a push-button as a tank drain. There are plenty of possibilities, but the general idea is that water will collect at the bottom of the tank, so if you plan on draining your tank without removing it be sure that the “drain” is located on the bottom of the tank.
Costs & Warranty
A complete bolt-in air suspension kit typically costs $2,000 - $7,000, depending on suspension type, management system, and component quality. Premium systems cost more but offer better performance and features. This will include the suspension, control system, air compressor, air tank, and all necessary wiring, plumbing, and fittings. The range of cost depends on what options you choose. Going with an entry level controller paired with entry level suspension will get you going but if you are looking to purchase a premium "cry once buy once" type setup, the costs will increase based on what choices you make for your setup.
Professional air suspension installation usually ranges from $500 to $1,500+, depending on the shop and system complexity. Height-based systems generally cost more to install.
Yes, all air suspension kits found on the Bag Riders site come with a warranty. Some parts will have a one year warranty while others like our Super Low line of air suspension products will come with a lifetime warranty to the original purchaser. Warranty coverage varies by brand and component. The warranty information for various brands on our site can be found here: Warranty Information
Air Suspension Lingo
Push-to-Connect. A type of fitting connection that allows you to easily plug in and remove air lines without the use of tools. PTC connections are measured in fractions and should match the size of your air line if you are ordering fittings. For example, if you have 1/4" air line, you will need fittings that have 1/4" PTC connections.
National Pipe Thread Tapered Thread. Yes, there are a few more “T's” than the acronym, but this is indeed the correct definition of this acronym. “NPT” is the measurement for the threaded side of your fittings and ports throughout an air ride setup. Often overlooked is the very important word tapered. When threading fittings into a tank or any other port, it is important to remember that since the threads are tapered the fitting will not be able to thread “flush” to the port.
A type of thread standardized by American Aeronautical and Navy engineers (hence 'AN') and is typically used with hard line setups utilizing aluminum, copper, or stainless steel lines.
Shorthand for “Front-back-side-side” which describes the possible controls of an air ride system. FBSS may be used to describe a 4-way (8 valve) system, essentially saying you have the ability to raise and lower each corner of the suspension individually. This type of modern system is a vast improvement in terms of performance compared to older air ride systems which implemented only 4-valves by pairing the front and rear air springs together. In regards to performance it is very undesirable to pair air springs together as air will be able to transfer between springs while cornering which results in terrible body roll.
A common abbreviation for "Bag-over-coil" which refers to the method of bagging a car by replacing the shocks on an aftermarket or OE strut/shock with "donut" bags such as the Universal Air Aero Sport. This bag features a metal tube in the center, allowing you to slip it over your shock's pressure tube.
Short for Electronic Control Unit, the ECU is what gives digital management the possibility of presets and other cool features. You can think of the ECU as the "brain" to the system. ECU's receive a digital signal and translate that into electric signals to send to the manifold/valves.
Technically this term refers to electromechanical solenoids found throughout analog and digital air ride systems, often built into the manifold. Simply put, the term solenoid is oftentimes interchanged with valve, which refers to the pneumatic valves that control the air flow throughout your air ride system. Each corner of an air suspension system is composed of (2) valves, one for “fill” and one for “dump” . Therefore, modern “8-way” or “FBSS” systems are composed of (8) pneumatic valves and solenoids to power these valves.
Similar to how your intake manifold accepts air and distributes it to your engine cylinders, your air ride manifold accepts air from your tank and distributes the air to your bags. In an air ride setup, a manifold is composed of numerous solenoids and generally decreases the installation time of air management systems by reducing the amount of wiring and plumbing when compared to old school individual valve setups.
Sometimes referred to as a one way valve (see: SMC Check Valve), which is a much more descriptive name for this type of valve which only allows air to flow in one direction. These types of valves are found at the end of compressor leader hoses, and are useful for isolating your air reservoir (tank) from your bags. For example, many individuals place a check valve between their air tank and manifold. This allows the user to remove the air tank while keeping air in their air springs, and furthermore provides peace of mind knowing that a tank leak will not cause the air springs to slowly deflate.
Refers to the travel range of the vehicle's suspension, typically defined by the shock. This is an important factor to understand when lowering your vehicle significantly, as riding close to the limit of a shock's stroke is very detrimental to the integrity of the shock. For this reason, we recommend that you install shorter, aftermarket shocks when lowering your vehicle.
Simply put, this refers to the amount of weight required to compress a spring by the given measurement, for U.S. Standards this is typically given in lbs/in. For example, a spring with a spring rate of 140lb/in will compress 1 inch under a 140lb load. When referencing spring rates, a higher spring rate means a stiffer (and usually heavier) spring. In regards to air suspension, the pressure in the bag is the determining factor for spring rate. Therefore, with air ride you have the freedom to define your own spring rate. For applications with threaded struts, you can define your own spring rate without sacrificing stroke by adjusting the length of the strut via the threaded lower bracket.
A relay is an electrically operated switch found throughout vehicle electronics and a common component in air ride management systems. The basic idea of a relay is to conditionally provide power from a high amperage source to a target via a low amperage signal. The relay takes a very low amperage signal to “open” the connection from the power source to the target receiving power. Relays are commonly used to trigger compressors on and off automatically via a pressure switch, which is another kind of electromechanical device in that a physical action results in an electric reaction.